

-
Preparing a table for a thesis in Word is a fairly simple process. Here’s a step-by-step guide:
- 1. Open the thesis in Word
- 2. Position the cursor
Choose the point in the document where you want to insert the table. - 3. Insert the table
Go to the "Insert" tab in the top menu. Click on "Table". A dropdown menu will appear. You can choose to insert a table by selecting the number of rows and columns you want, or click on "Insert Table..." to specify a custom number. - 4. Enter the data
Once you create the table, you can click in each cell to enter the data. Use the "Tab" key to move to the next cell. - 5. Format the table
Cell sizes: You can adjust the width of columns and height of rows by dragging the cell borders. Table style: Go to the "Table Tools" tab that appears when the table is selected. Here you can choose predefined styles or customize colors and borders. Text alignment: You can align the text within the cells using alignment options in the "Home" tab. - 6. Add headers
If your table requires headers, you can select the first row and format it in bold. - 7. Number the table
Assign a number to the table (e.g., Table 1, Table 2, etc.) with a descriptive title above the table. If necessary, add a caption. To do this, select the table, go to "References" and click "Insert Caption". - 8. Save the document
Don’t forget to save the changes you made to your Word document. By following these steps, you should be able to create a well-formatted and professional table for your thesis.
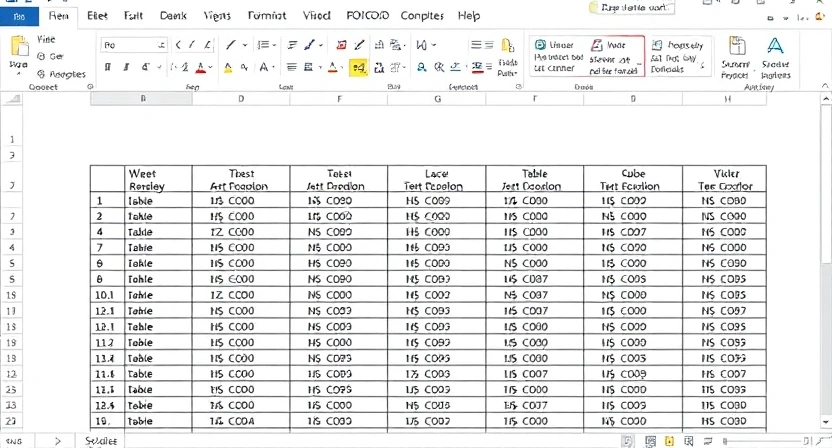
How to Prepare a Table in Word for Your Thesis
Trust the formatting of your thesis to a professional.
Send your thesis via
WhatsApp, Telegram or email.